Redkite Glass Ltd
Established in 1996 Redkite Glass Ltd is a family run business specializing in the supply and fit of UPVC and aluminium windows and doors as well as glass cutting on site. We are one of the leading window and door companies based in Newtown, Mid Wales.

What We Do
UPVC Windows, UPVC Doors, Aluminium Windows and Doors. Conservatories, Secondary Glazing.
- Supply only uPVC and aluminium windows, doors and conservatories.
- Thanks to our partnership with Emplas we are able to supply standard coloured uPVC products with a 2 week turn around and at competitive prices.
- We can supply standard coloured composite doors in 2-4 weeks and premium colours in 6 weeks.
- Supply and fit uPVC and aluminium windows, doors, conservatories and more!
Glass Suppliers
- Supply Double Glazed Units, Toughened, Mirror, Laminate, Fire Rated, Float, Wood burner Glass and Specialist Glass.
- Double Glazed Units, Toughened, Laminated Toughened Glass and Specialist Glass can be supplied in 1-2weeks.
- Laminate, Mirror, Georgian Wired, C730 Fire Rated Laminate, 2mm, 3mm, 4mm, 6mm Float glass and Wood burner Glass can be cut on site while you wait!
Trade Counter
- We have a trade counter stocked with silicones, trims and many other tools and consumables.
- We also have a large stock of window and door hardware from handles to hinges, if we dont have what you need in stock we can get it next day (Door locking mechanisms, window espags etc), no matter what your looking for our experienced staff can help you find it!
The UK’s biggest window and door brand, Profile 22
uPVC Windows
Optima uPVC Windows
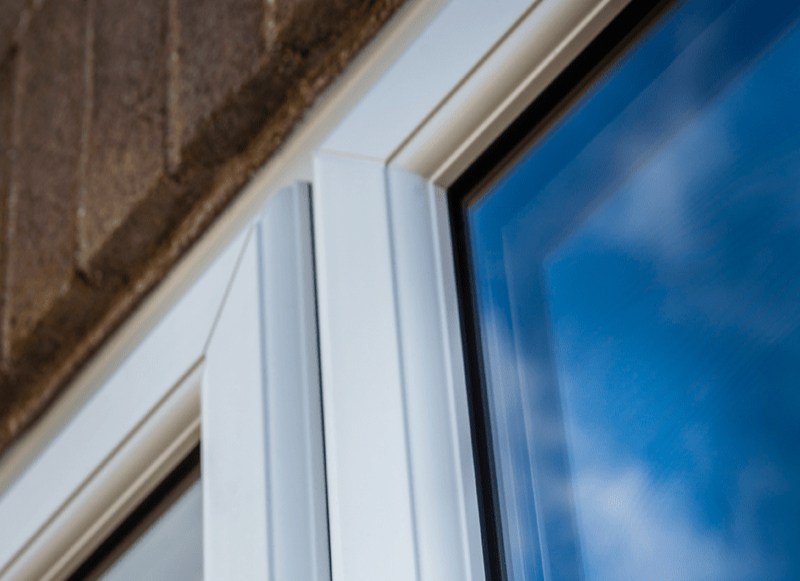
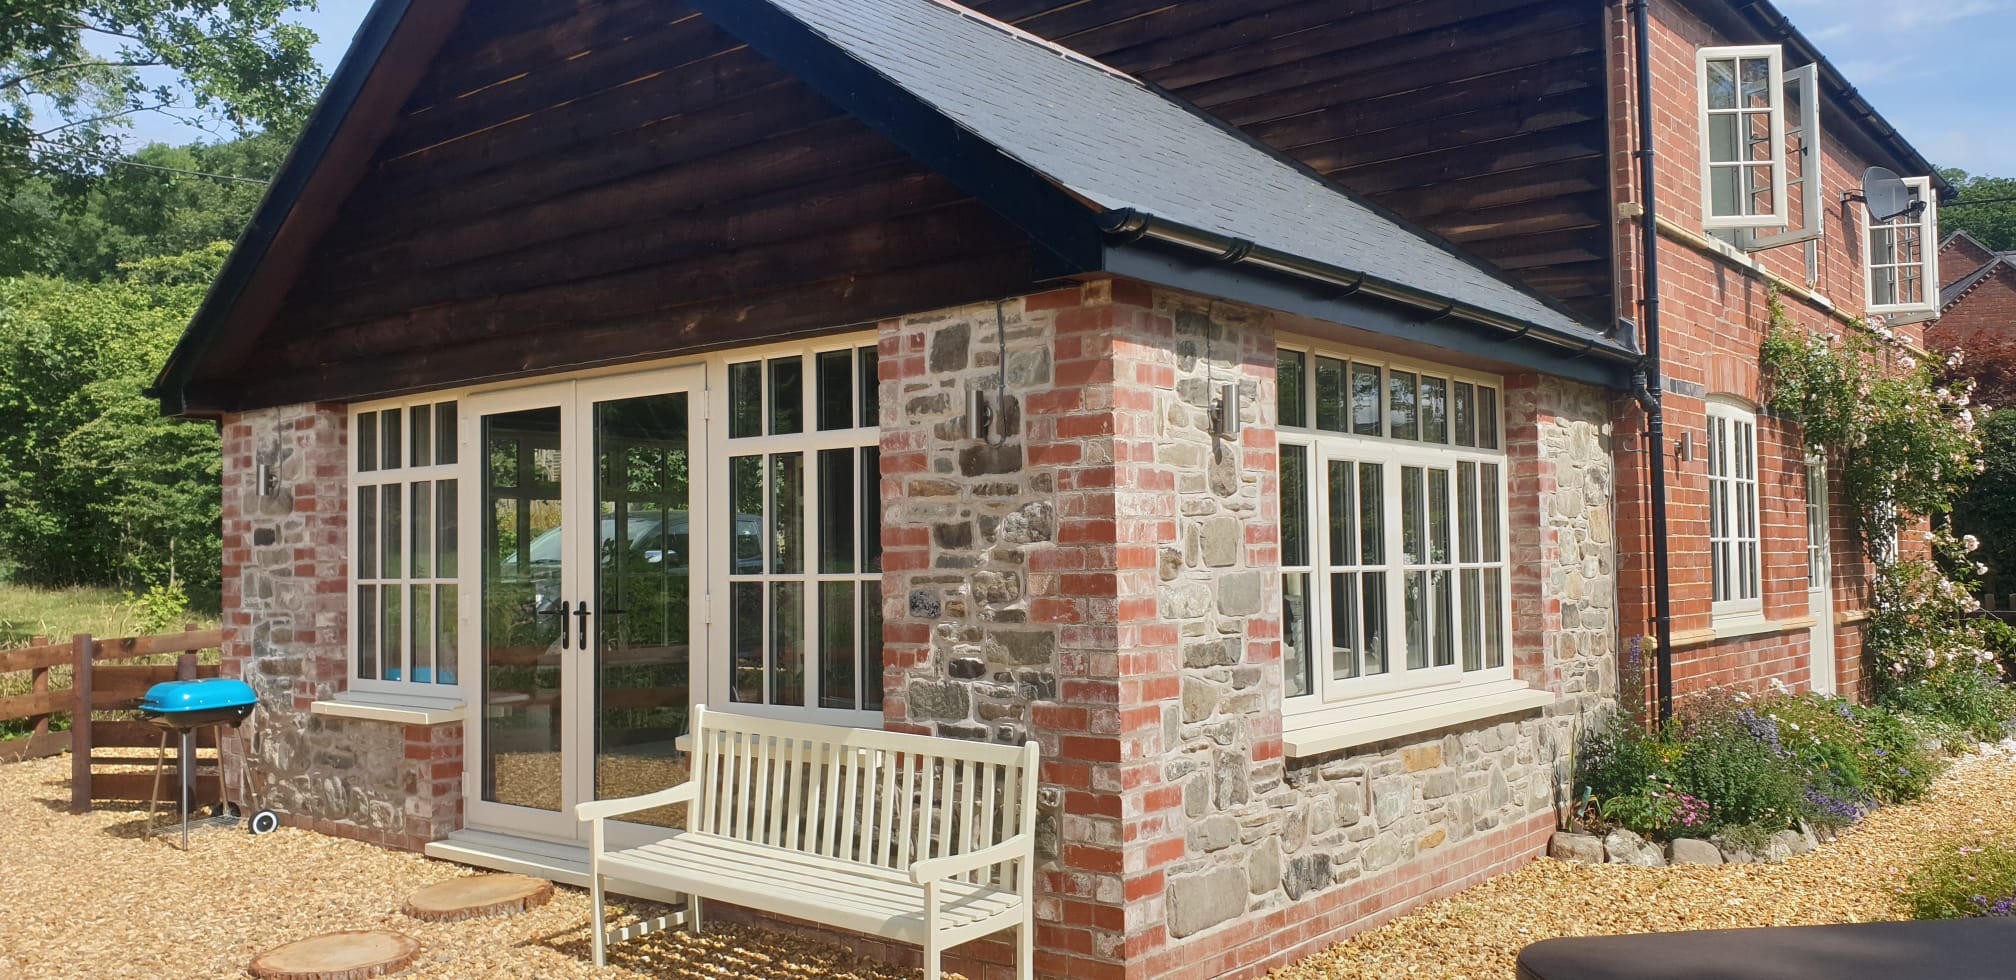
Manufactured in Profile 22’s cutting-edge Optima system, our uPVC casement window ranges deliver advanced thermal performance and enhanced weather sealing.
Optima Flush Sash
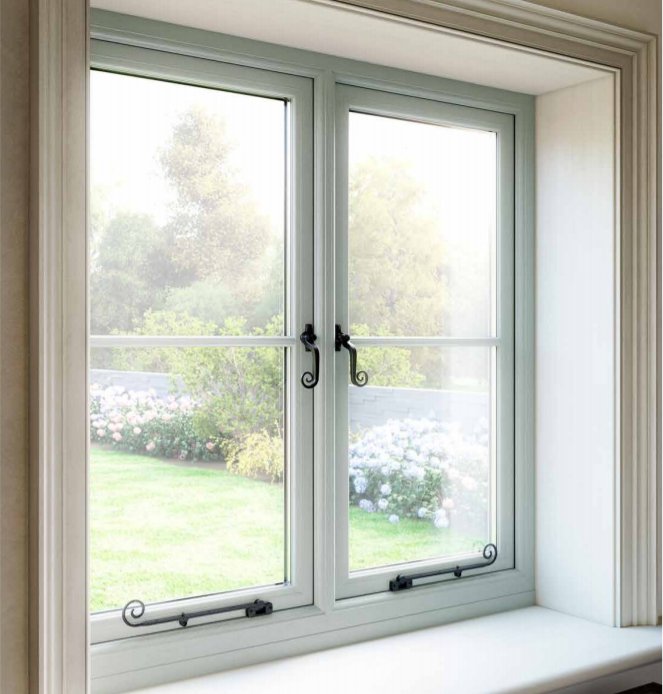
Profile 22 Optima Flush Casement uPVC windows can be paired with contemporary grey finishes or a wealth of period detailing to offer complete flexibility for modern architectural installations or period homes.
uPVC Doors
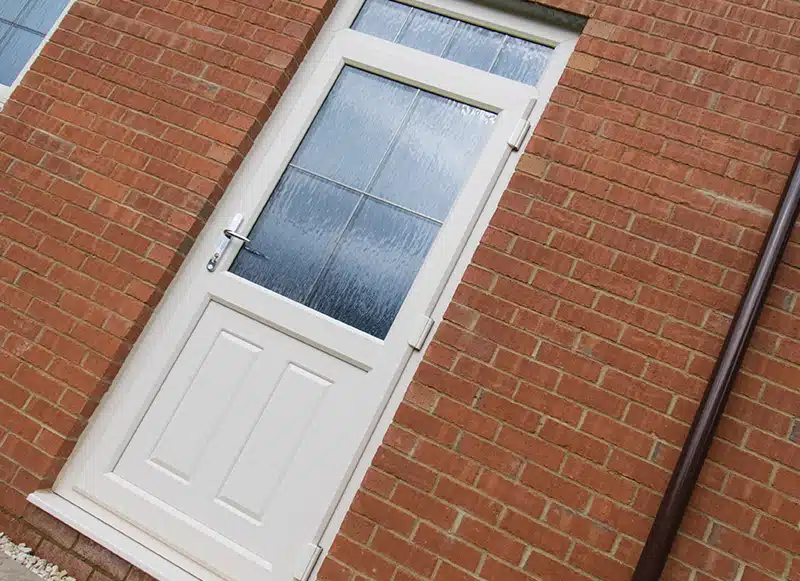
More flexible finishes and more sympathetic design are giving modern PVC-U entrance doors new end-user appeal.
Low maintenance, energy efficient, and secure and coming in at an accessible price point, they continue to be a go-to-choice, for homeowners.
22 Reasons Optima Brochure
Flush Casement Brochure
The Complete Collection Brochure
Brochures
Composite Entrance Doors
Style and Performance
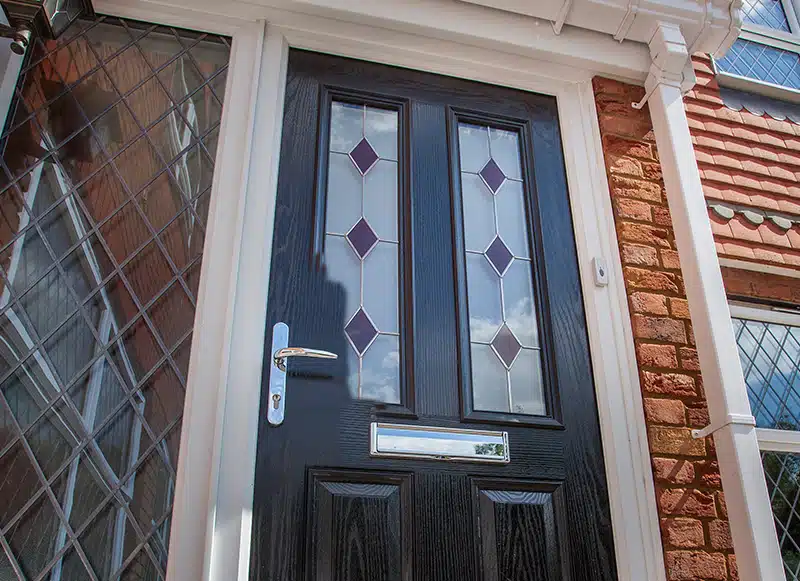
Our composite front door collection delivers uncompromised style and performance in a highly flexible range of composite front and back doors in a wide choice of classic and contemporary styles.
Spoilt For Choice
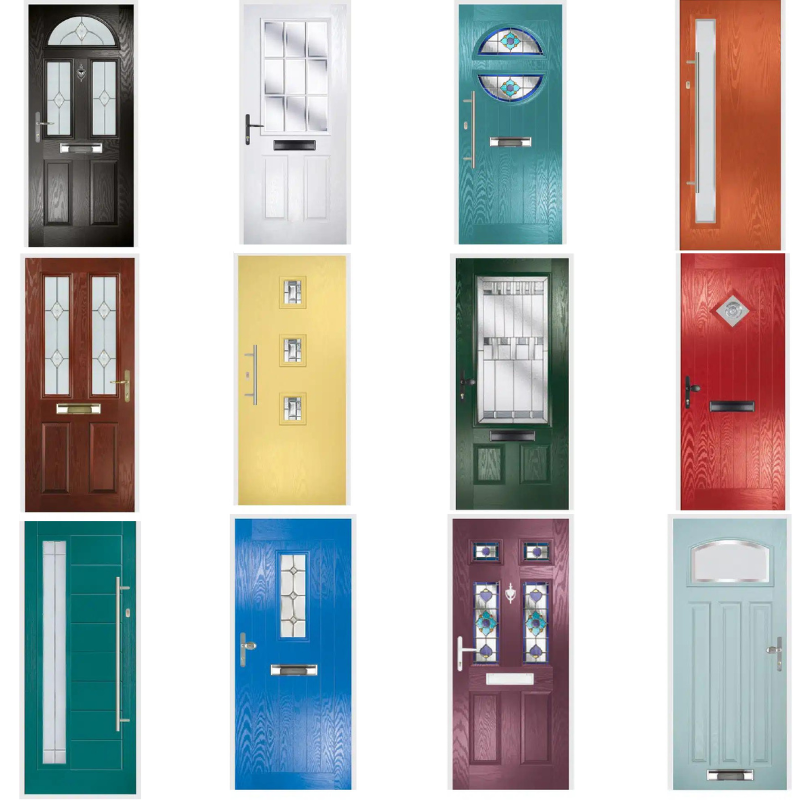
Choose from more than 20 different classic and contemporary designs, 9 standard colours and 39 premium colour options, any RAL colour on special order, plus a wide range glass options.
Secure
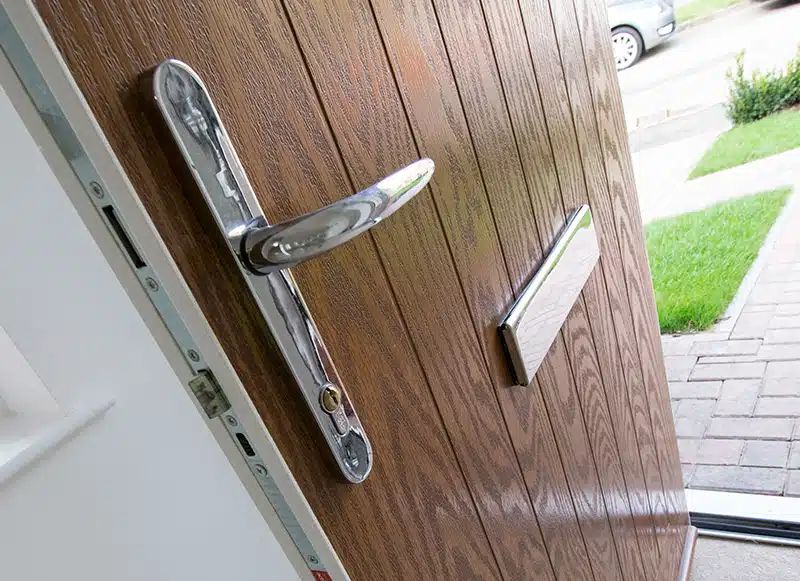
Local thickening in the Optima door frame and robust reinforcement further increases resistance to attack, while our composite doors also feature multi-point locking, the latest hardware and are supplied in a Secured by Design Specification as standard.
Composite Door Brochure
Brochures
Kubu Smart Lock Brochure
Aluminium
Designer Doors
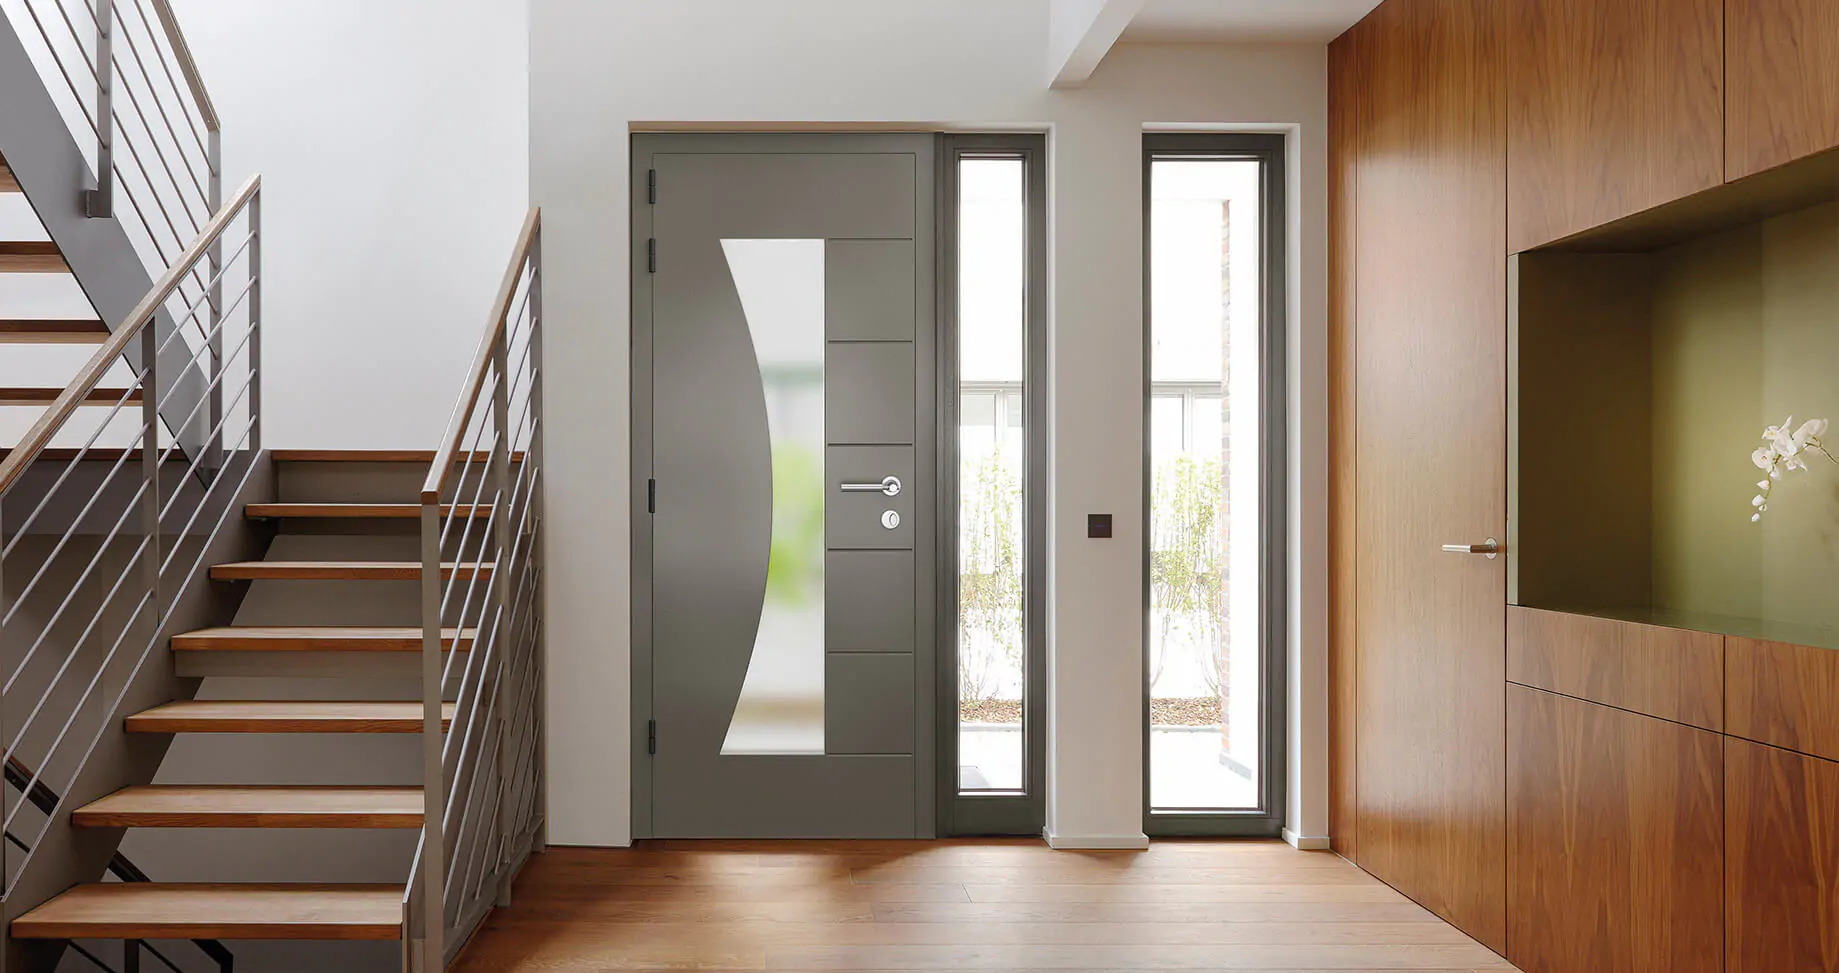
Designer aluminium doors are the perfect trade up for composite doors, super high security, rigid doors that will last far longer than standard composite doors.
Smoothsash Windows

Our aluminium windows come with polymade thermal break technology making them even more efficient than standard aluminium windows and also offer slim sightlines.
Bi-Folding Doors
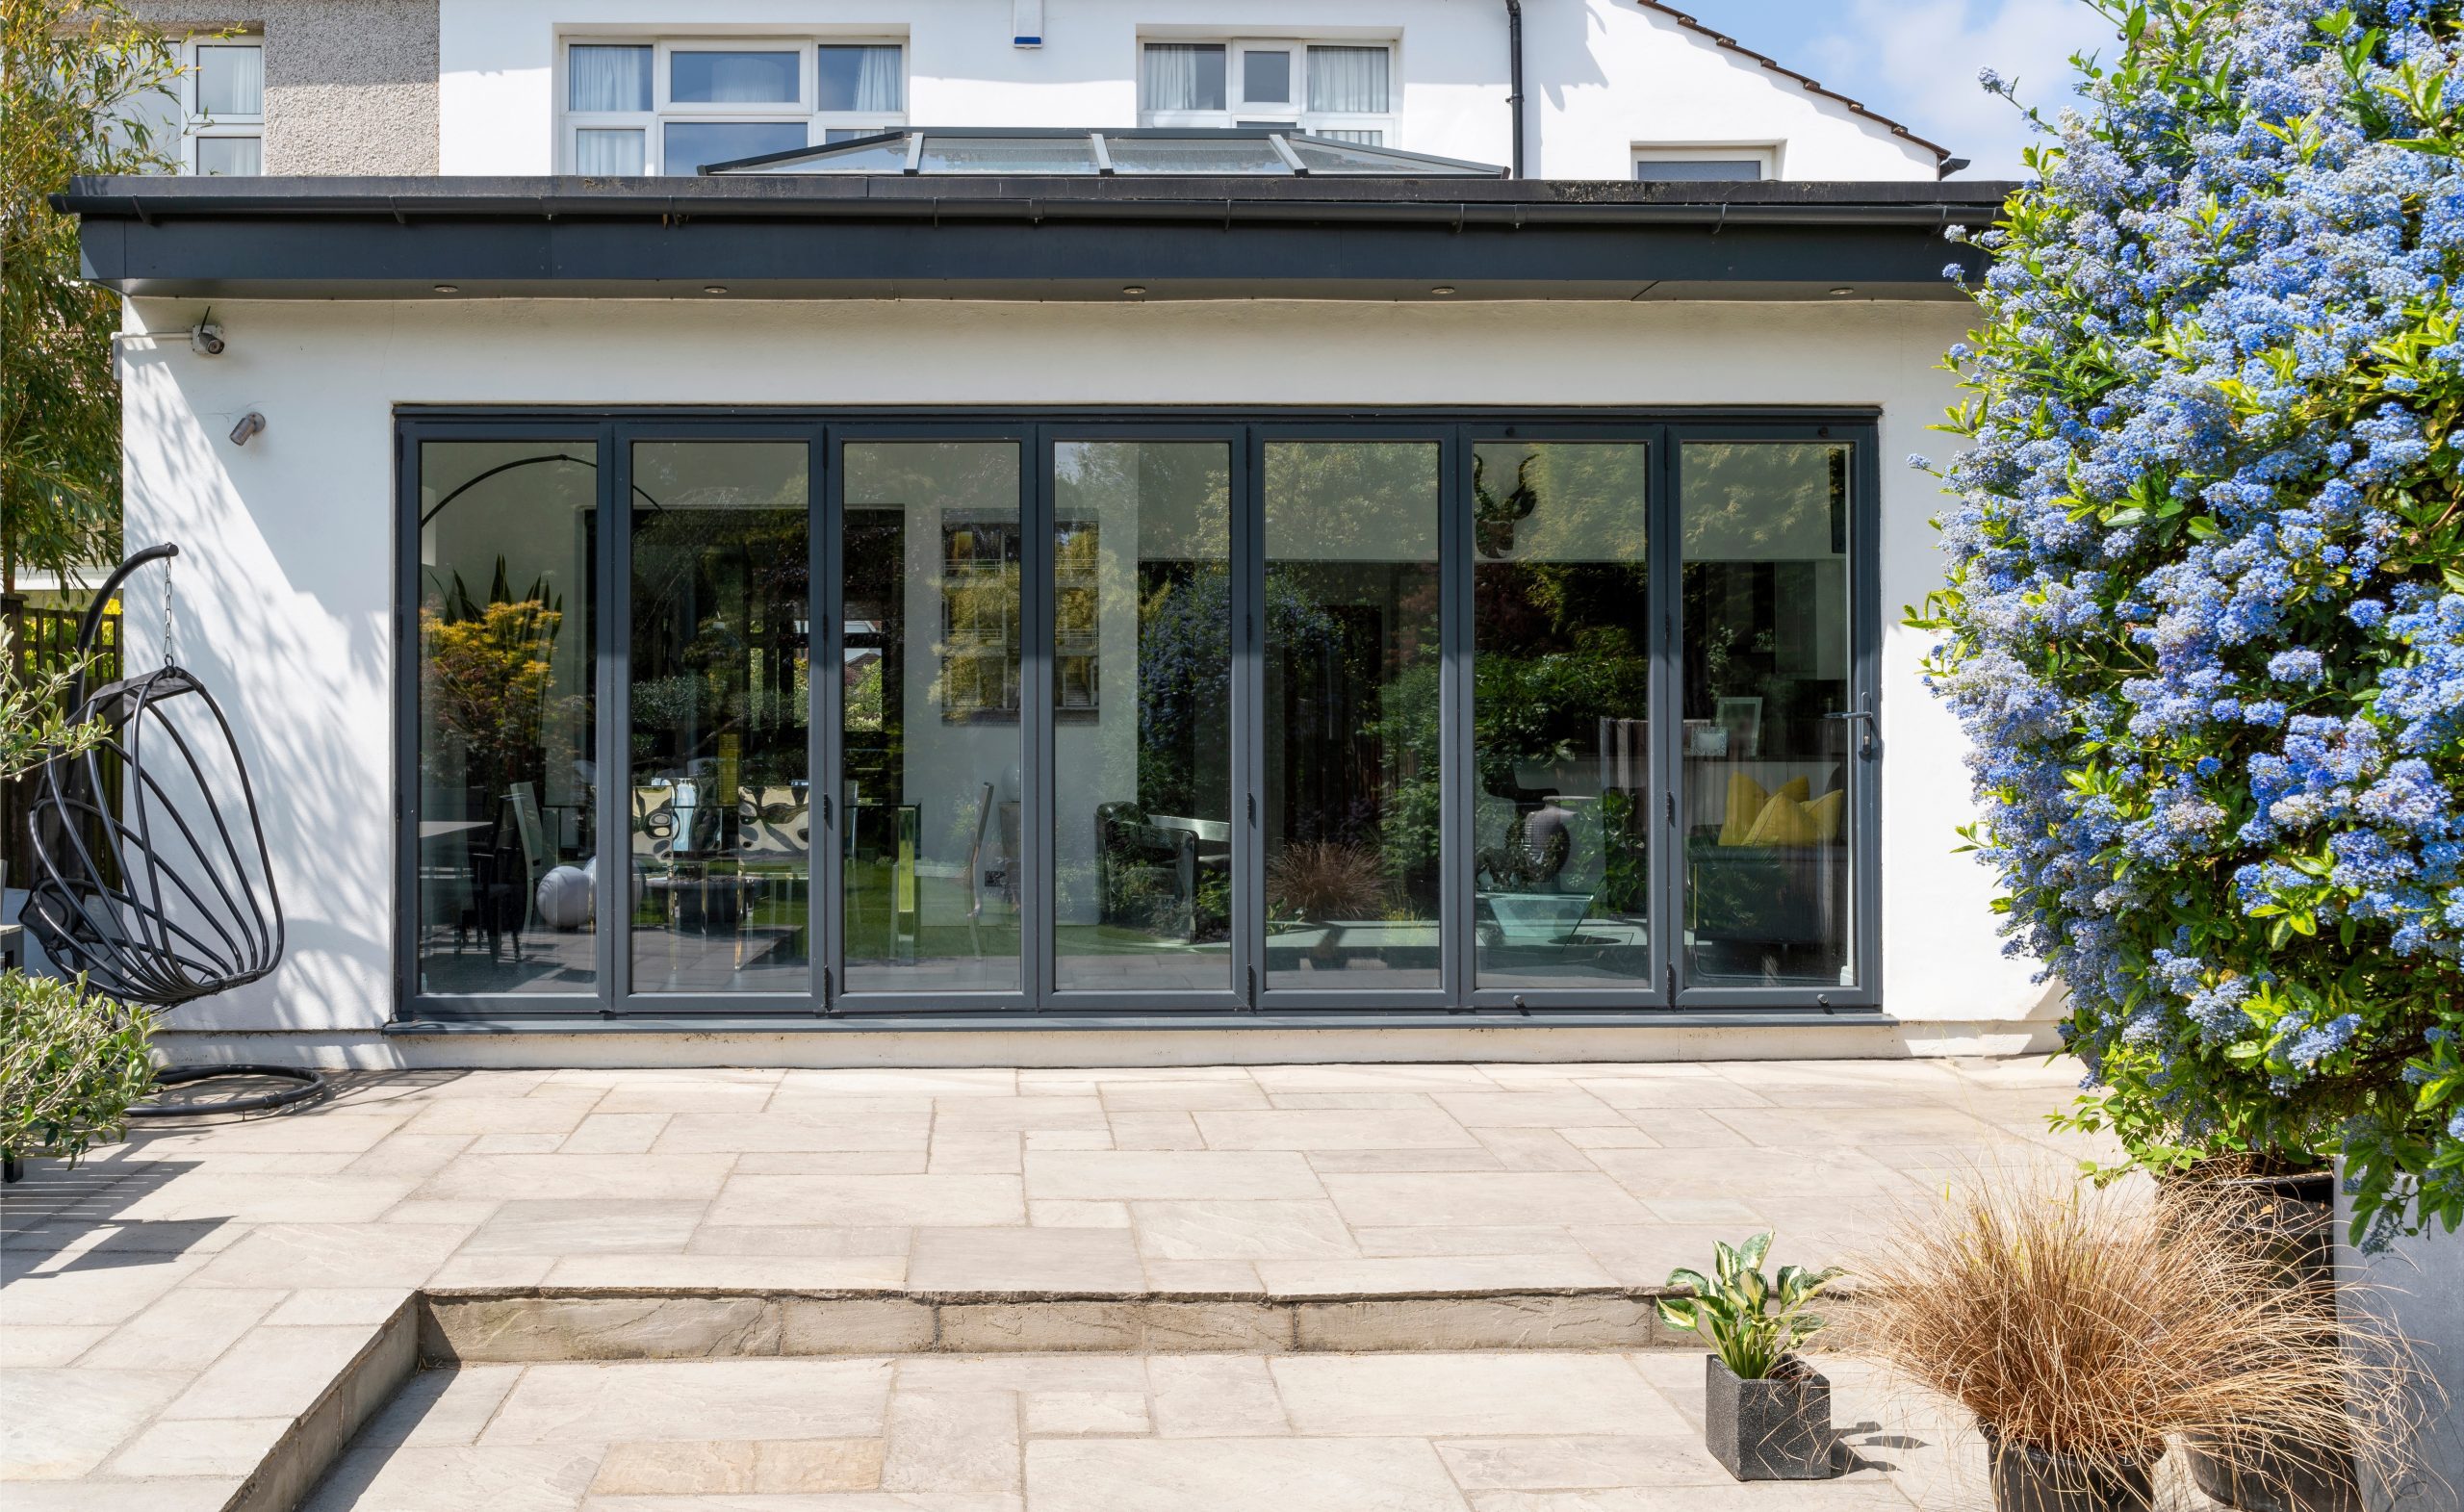
Open up your living space with our bi-folding doors, we offer a huge range of colours and typical sightlines of only 122mm.
Designer Doors Brochure
Brochures
SmoothFold Bi-Folding Doors Brochure
And much more!
No job too big or small
From one window to a full house refit, no job is too big or small. We have highly experienced surveyors and fitting teams who can deal with any situation.